Configuration
Settings
After theme selection, there are few global settings which can be useful for general settings in the app.
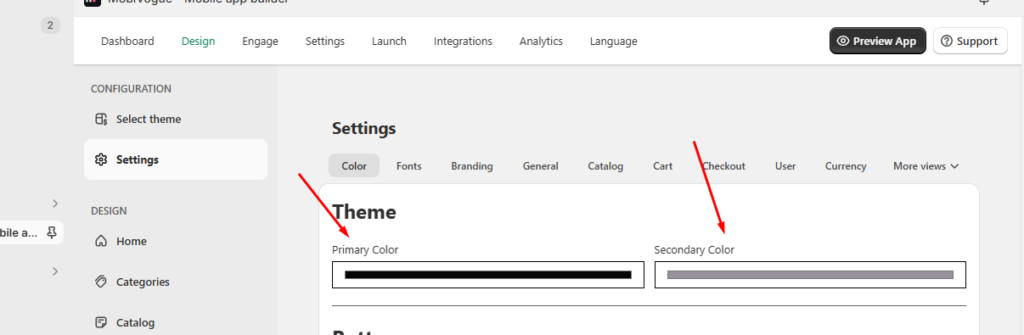
Go to Dashboard > Design > Settings.
1. color
1.1 Theme color
You can select the primary and secondary colors for the theme from here.
1.2 Button color
You can select the button’s background color and the button text color from here.
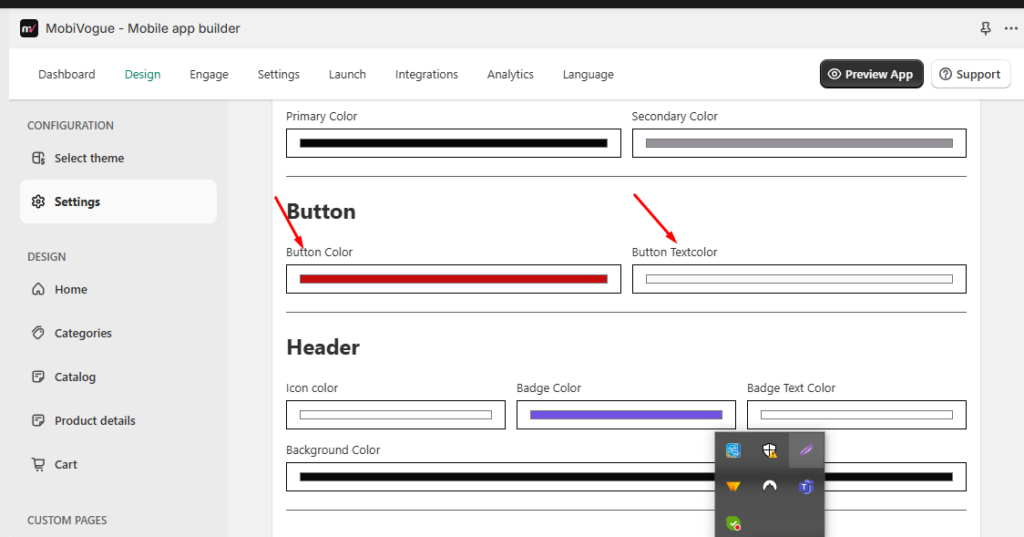
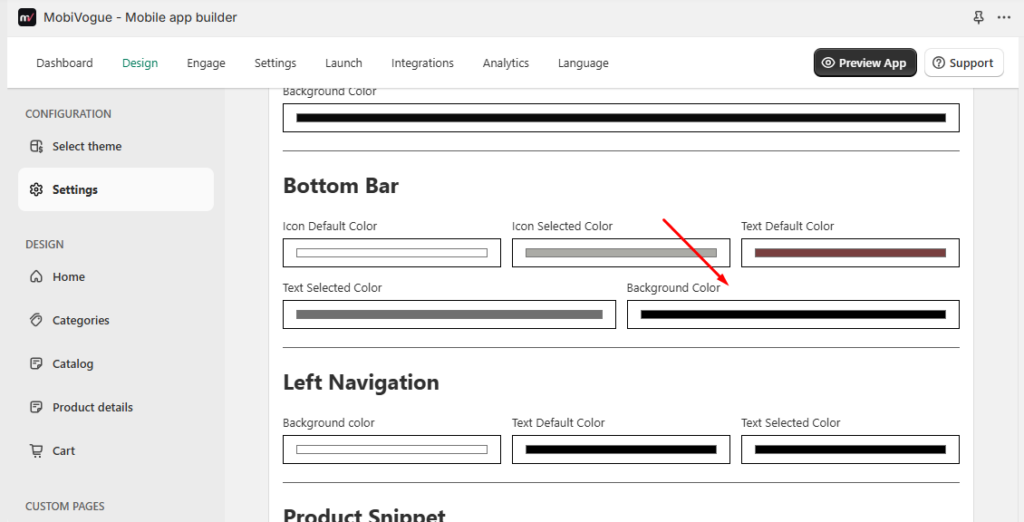
1.3 Header
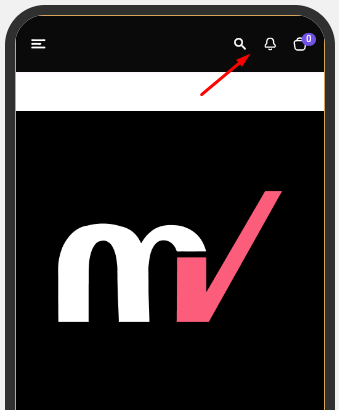
1.3.1 Icon color: You can select the color of the header icons from here.
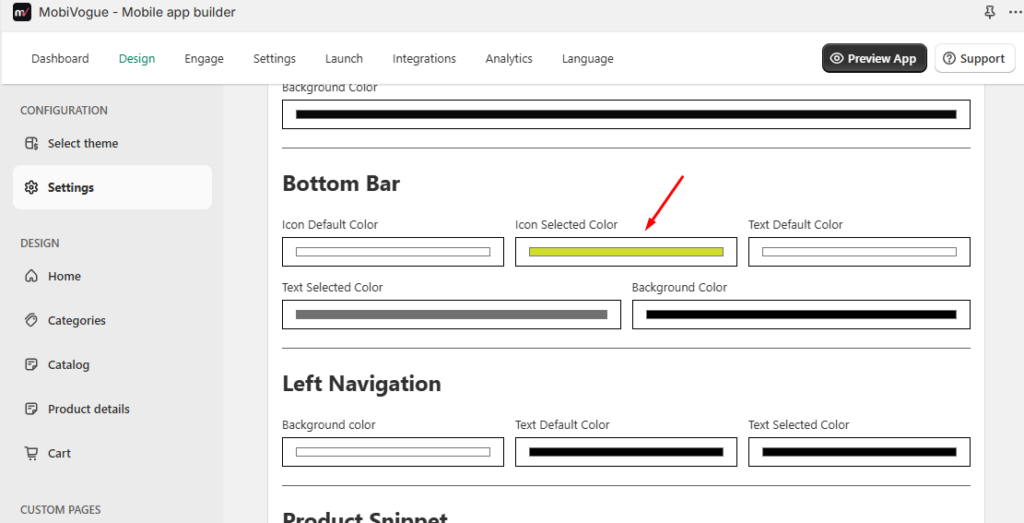
1.3.2 Icon Selected Color : You can select the color of the selected icon from here.
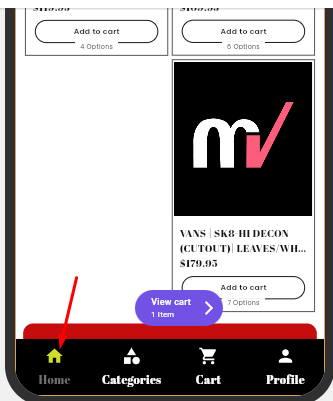
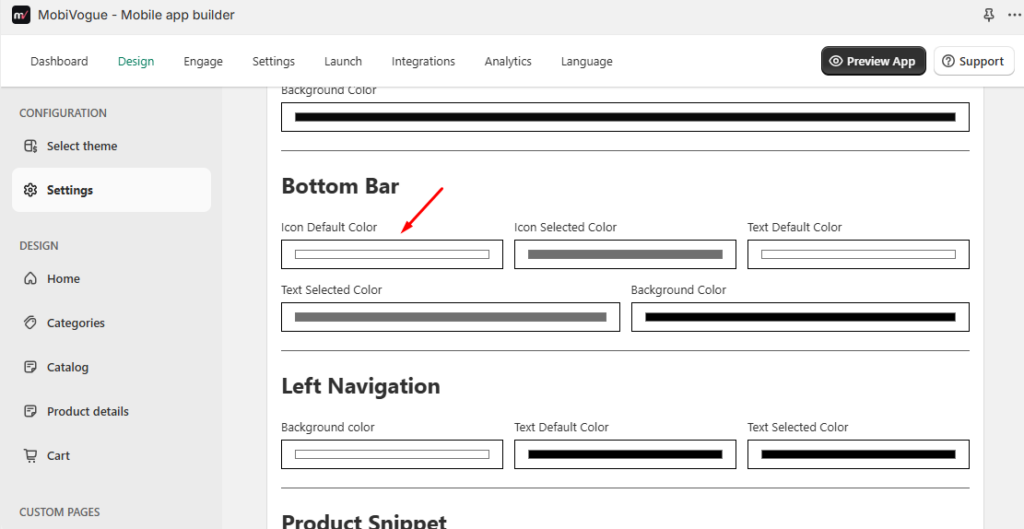
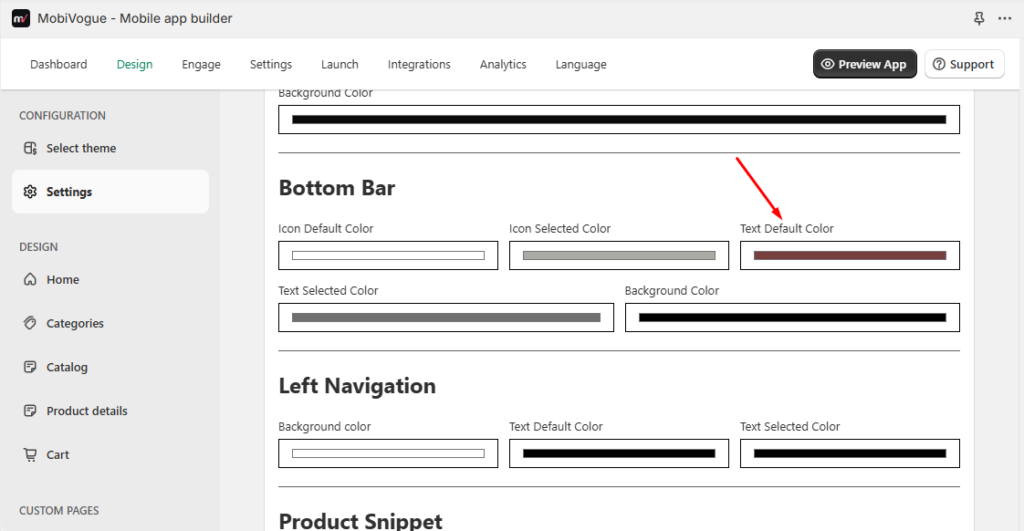
1.3.3 Text default color: You can select the text color in the bottom bar from here.
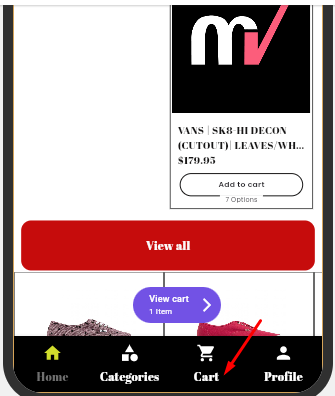
1.3.4 Text Selected color: You can select the color of the selected text from here.
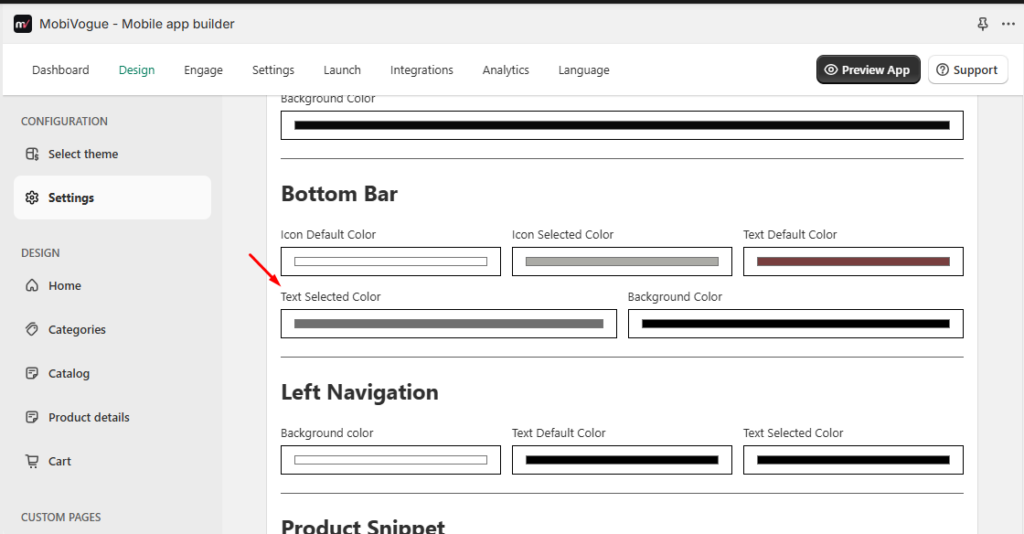
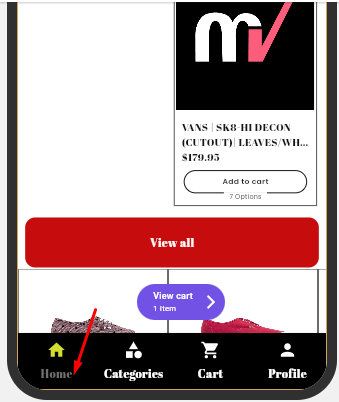
1.3.5 Background color: You can select the background color of the bottom bar from here.
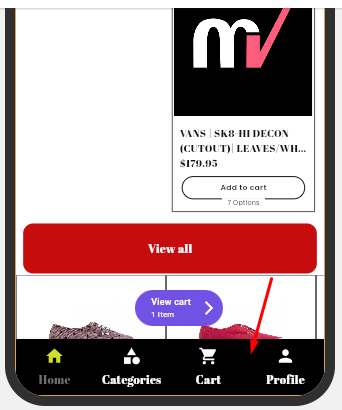
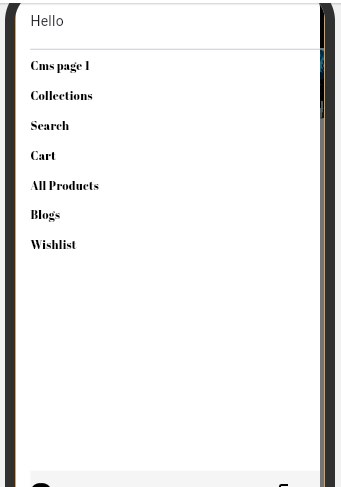
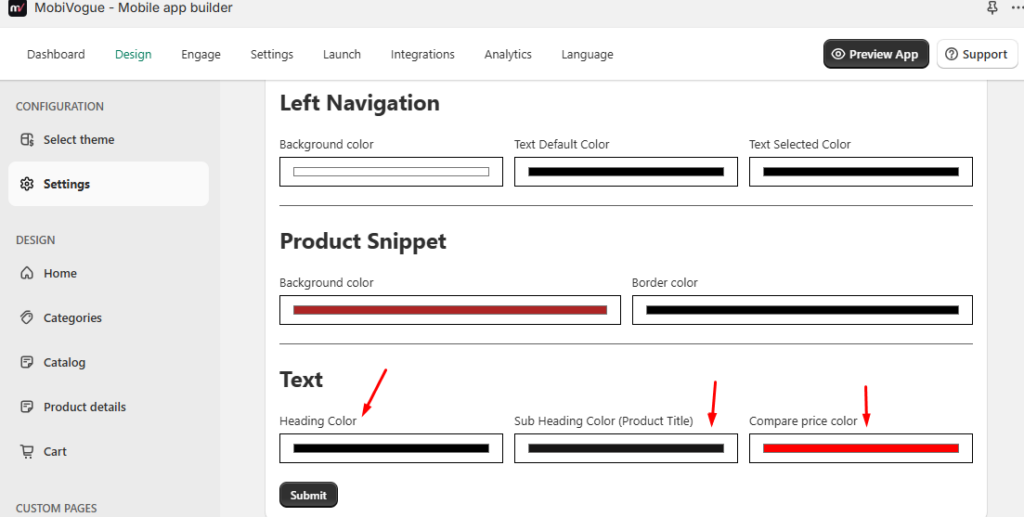
1.4 Left Navigation
You can select the side menu’s background color, text color, and selected text color from here.

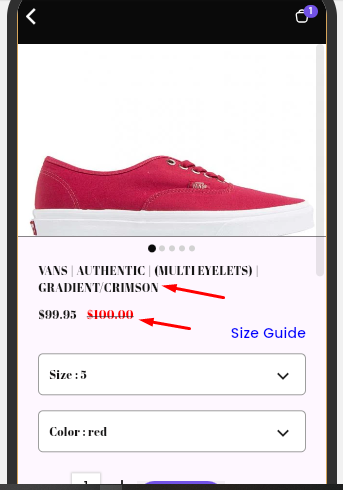
1.5 Product Snippets
1.6 Text color
You can select the heading color, subheading color, and compare price color in the theme from here.
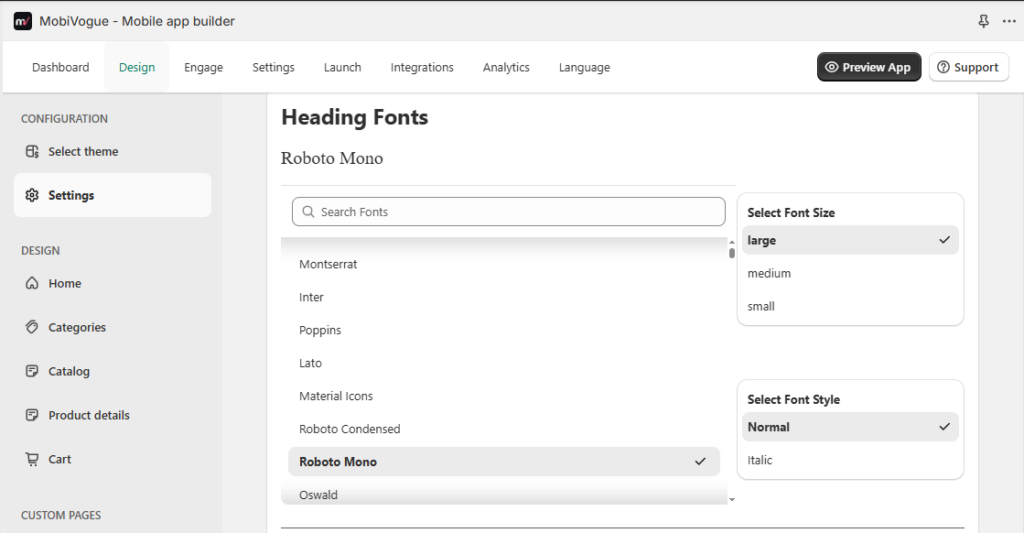
2. Fonts
In settings, For Fonts can be set by visiting the following path:
Go to Dashboard > Design > Settings > Fonts
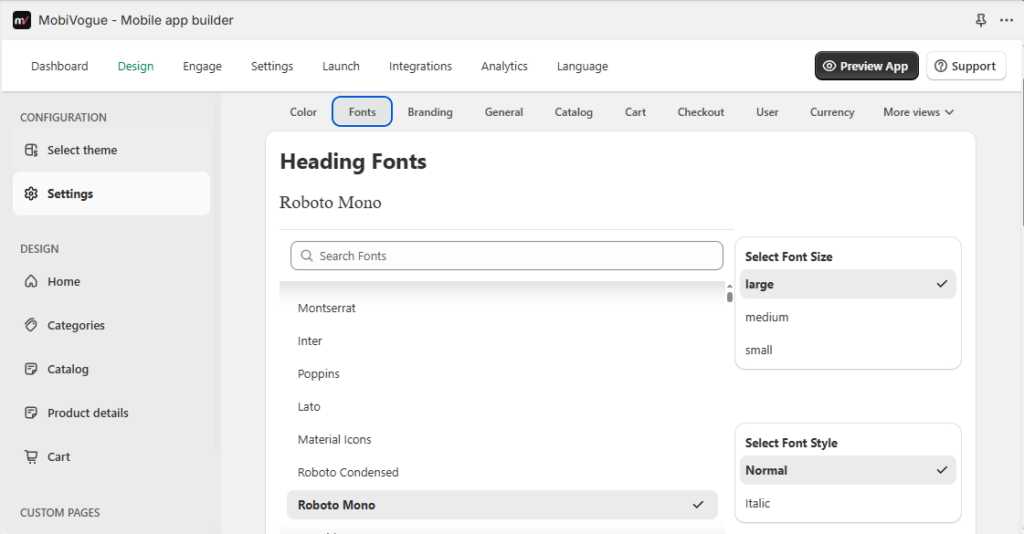
2.1 Heading Fonts
You can select the heading’s font family, font size, and font style from here.
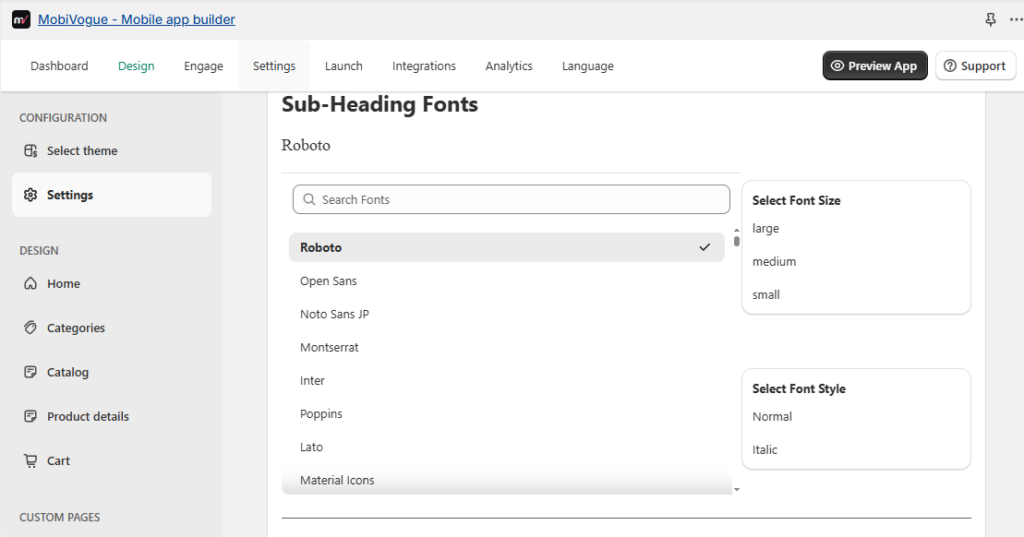
2.2 Sub-Heading Fonts
You can select the sub-heading’s font family, font size, and font style from here.
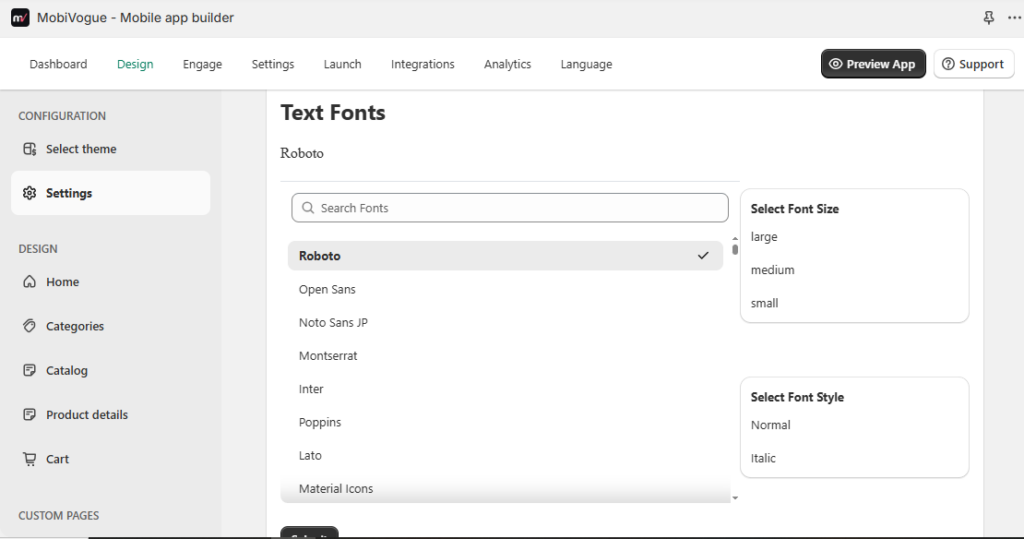
2.3 Text Fonts
You can select the Text’s font family, font size, and font style from here.
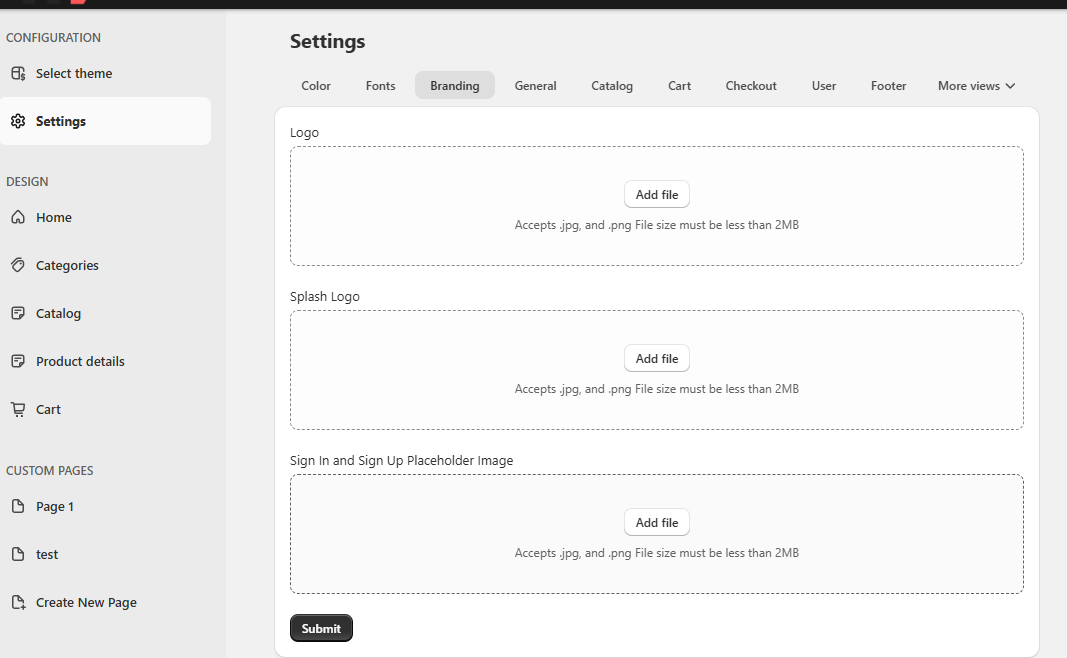
3. Branding
In settings, For Branding, Logo and Splash Logo can be set by visiting the following path:
Go to Dashboard > Design > Settings > Branding
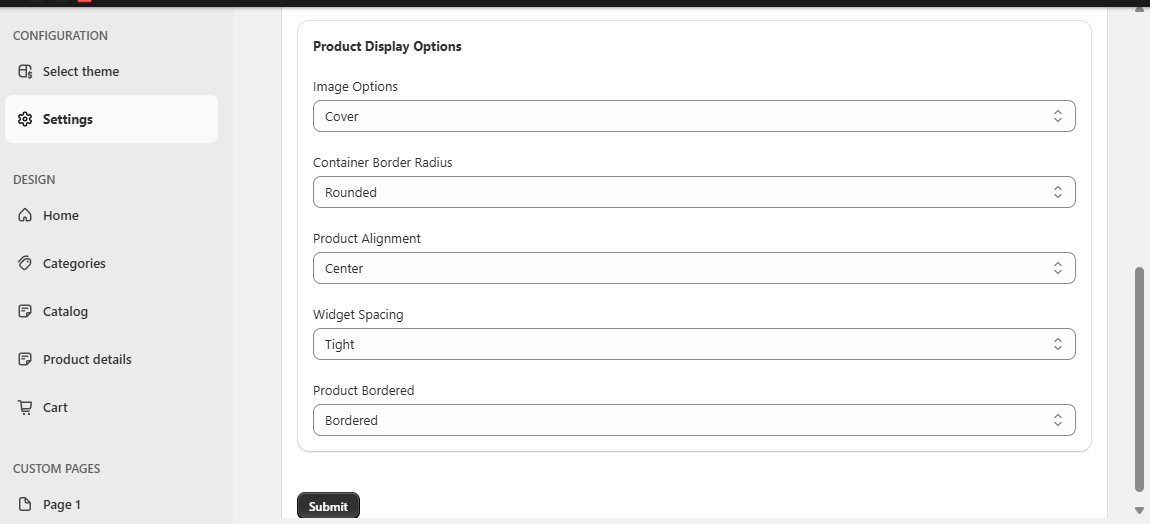
4. General
In settings, The overall space management between widgets and container padding in the app can be adjusted from here. Also, if you have badges like Sale, New Arrival, etc. then badge position can be adjusted as per available options here.
Go to Dashboard > Design > Settings > General
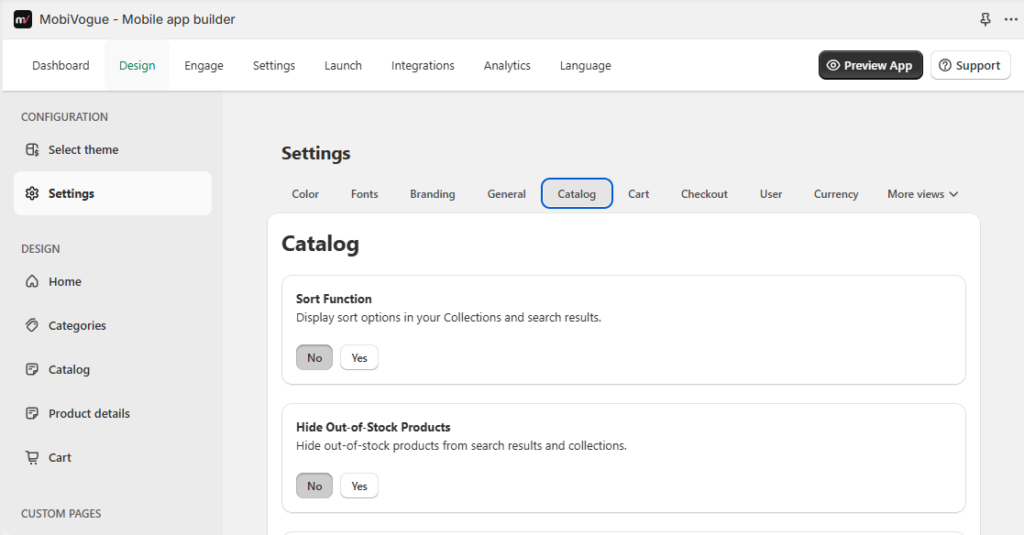
5. Catalog
In settings, From catalogue, if you want to hide sold out product from the cart or show the sort option in the filter then it can be managed from here:
Go to Dashboard > Design > Settings > Catalog
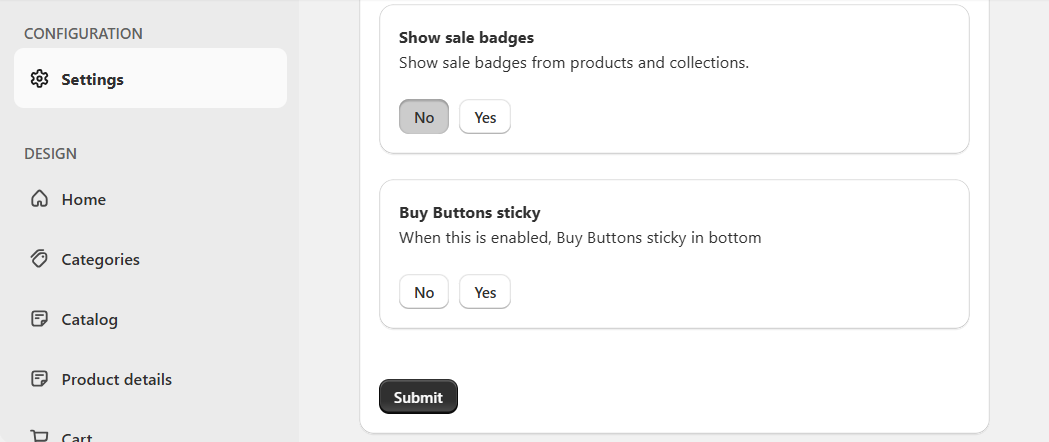
5.1 In setting, From catalogue, if you want to show sale badges and keep Buy buttons sticky then that can be manageable from here:
Go to Dashboard > Design > Settings > Catalog
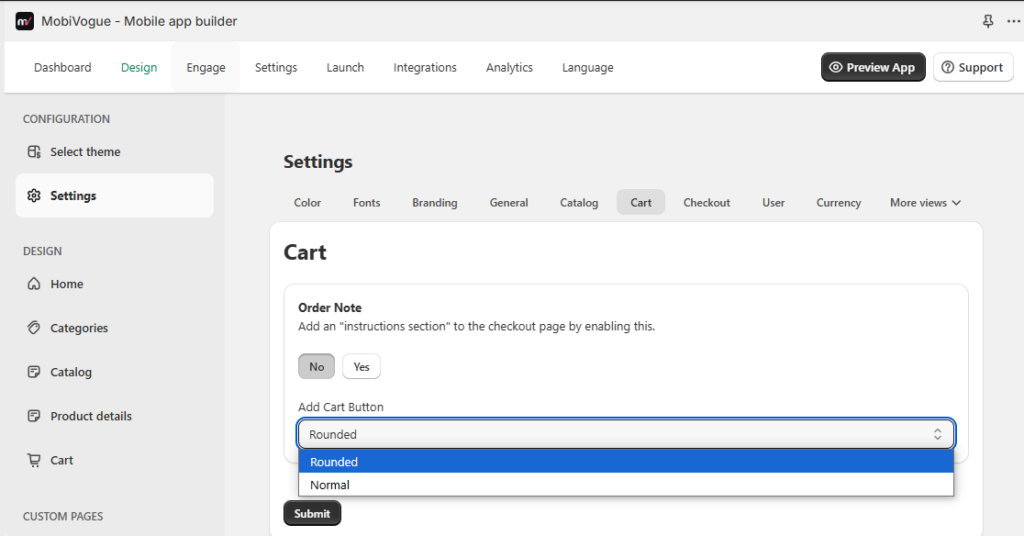
6. Cart
In settings, order notes on cart can be enabled or disabled and “Add to cart” button can be set “Normal” or “Rounded” from here.
Go to Dashboard > Design > Settings > Cart
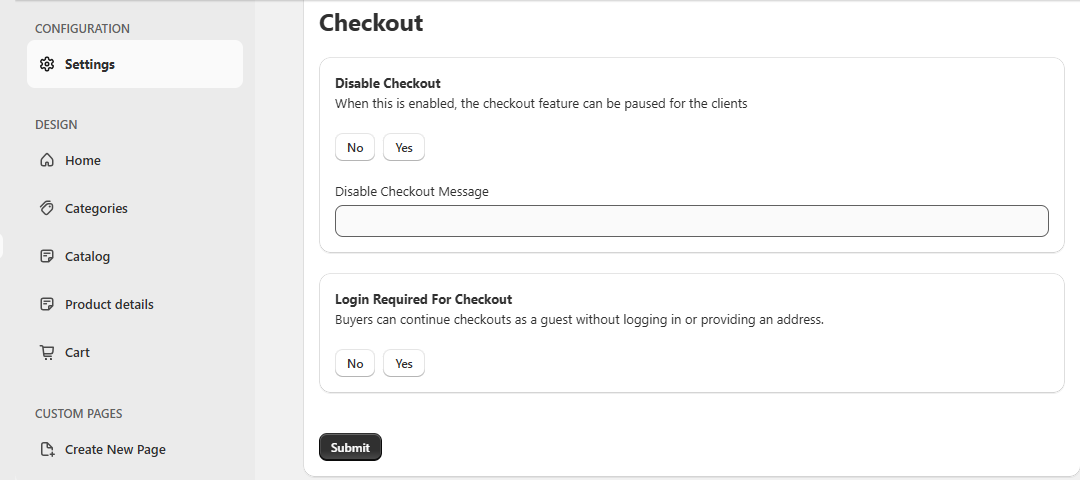
7. Checkout
In settings, disable checkout and login required for checkout options can be manageable from here.
Go to Dashboard > Design > Settings > Checkout
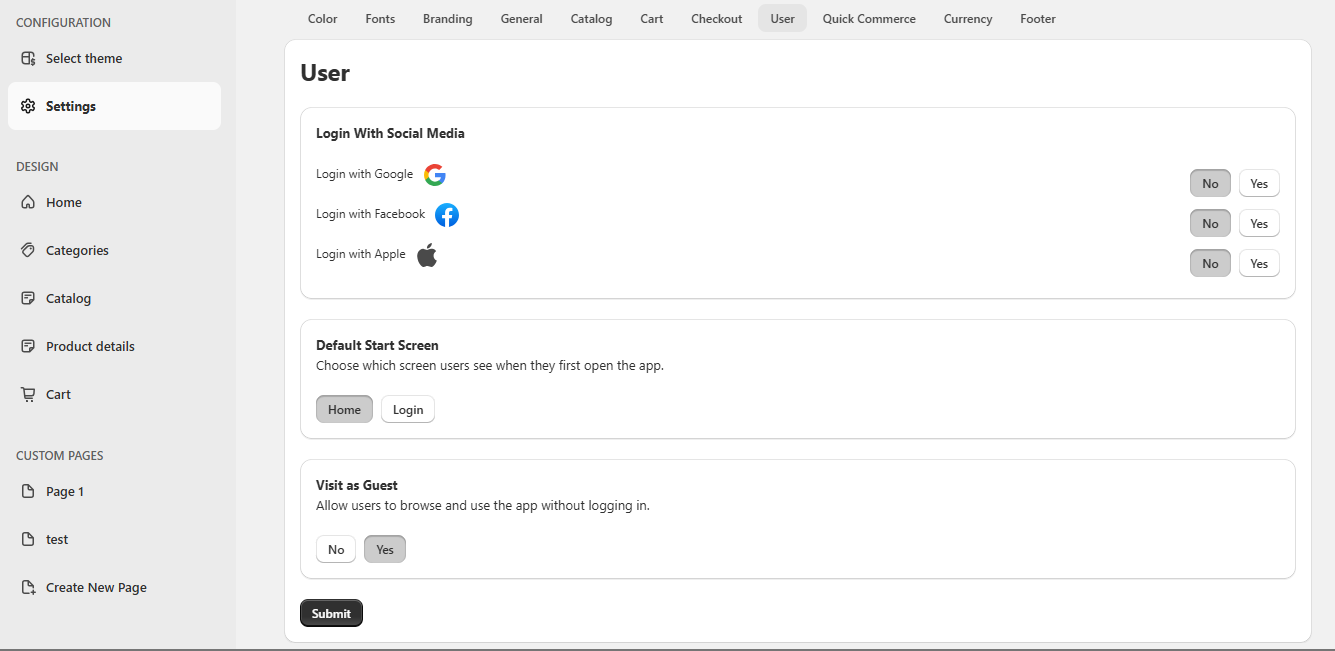
8. User
If you want to provide the social login option to the visitor then the social login in the site needs to be enabled from the setting.
Go to Dashboard > Design > Settings > User
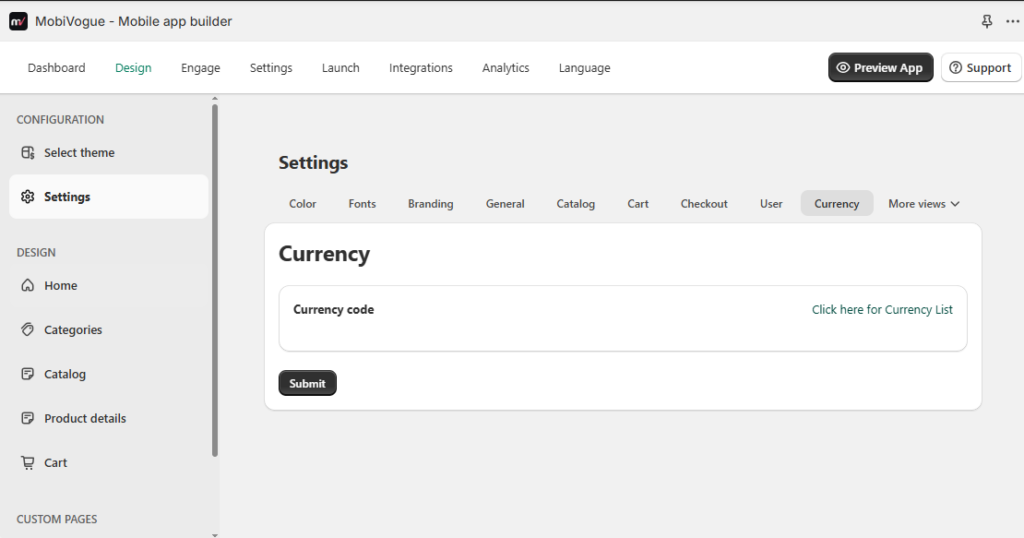
9. Currency
If you want to add currency code then it can be selected from here.
Go to Dashboard > Design > Settings > Currency
10. More Views
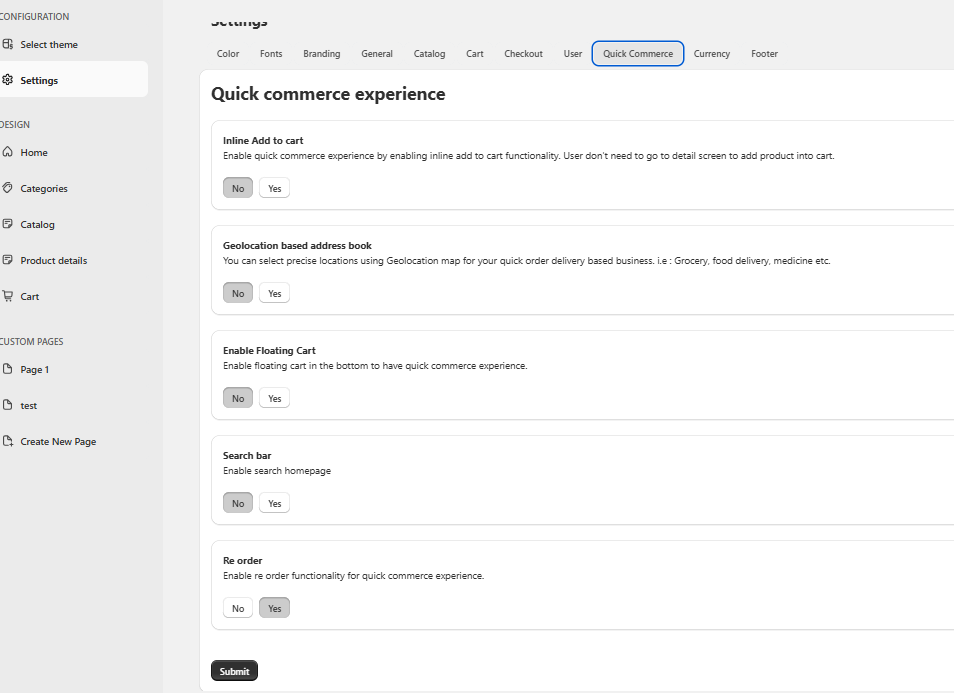
In settings, By enabling the “Inline Add to cart” option, users need not to visit the product detail screen and add the product in the cart.
Go to Dashboard > Design > Settings > Quick Commerce
10.1 Quick Commerce
– You can select precise locations using a Geolocation map for your quick order delivery based business. i.e : Grocery, food delivery, medicine etc.
– Also, Enable floating carts at the bottom to have quick commerce experience.
10.2 Footer
In the app bottom bar, If you want to visible only icons or text or both that can be adjusted from here.
Go to Dashboard > Design > Settings > Footer
